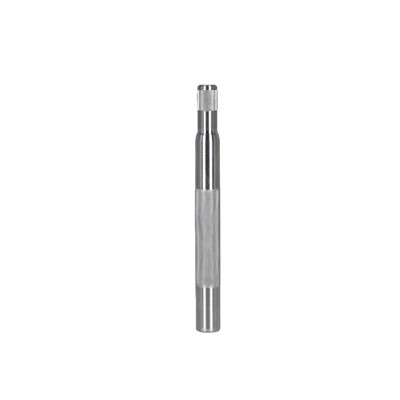


Safely removing a pump shaft from a pump is a critical process that requires careful planning, the right tools, and adherence to safety protocols. As a pump shaft supplier, I understand the importance of this procedure, not only for maintenance purposes but also for ensuring the longevity and efficiency of the pump. In this blog, I will guide you through the steps to safely remove a pump shaft, highlighting key considerations and best practices along the way.
Pre - removal Preparations
Before you start the removal process, it's essential to gather all the necessary tools and equipment. You will typically need a set of wrenches, a puller, a hammer, a torque wrench, and safety gear such as gloves and safety glasses. Additionally, make sure you have a clean and well - lit workspace to perform the task.
It's also crucial to review the pump's manual. The manual will provide specific instructions regarding the pump's design, the type of shaft, and any unique features that may affect the removal process. Some pumps may have special locking mechanisms or require specific torque settings for disassembly.
Shutting Down the Pump
The first step in removing the pump shaft is to shut down the pump. Turn off the power supply to the pump to prevent any accidental starts. This can be done by switching off the circuit breaker or unplugging the pump from the power source. Once the power is off, label the power switch to ensure that no one accidentally turns it back on during the removal process.
Draining the Pump
If the pump contains any fluid, it must be drained before removing the shaft. Locate the drain valve on the pump and place a suitable container underneath to collect the fluid. Open the drain valve and allow the fluid to drain completely. Make sure to follow all environmental regulations when disposing of the fluid.
Removing the Pump Cover
Most pumps have a cover that protects the internal components, including the shaft. Use the appropriate wrenches to remove the bolts or screws holding the cover in place. Carefully lift the cover off the pump, taking note of its orientation and any gaskets or seals that may be present. Place the cover in a safe place to prevent damage.
Disconnecting the Shaft from the Motor
The pump shaft is usually connected to the motor shaft through a coupling. There are different types of couplings, such as flexible couplings and rigid couplings. To disconnect the shaft from the motor, you may need to remove the coupling bolts or use a coupling disassembly tool. Refer to the pump's manual for the specific procedure for your coupling type.
Removing the Impeller
The impeller is attached to the pump shaft and needs to be removed before the shaft can be taken out. In some cases, the impeller may be held in place by a key or a set screw. Use a wrench to loosen the set screw or remove the key. Then, use a puller to gently remove the impeller from the shaft. Be careful not to damage the impeller or the shaft during this process.
Removing the Shaft
Once the impeller is removed, you can proceed to remove the pump shaft. In some pumps, the shaft may be held in place by bearings or seals. Use a puller to carefully pull the shaft out of the pump housing. If the shaft is stuck, you may need to use a hammer and a block of wood to gently tap the shaft while pulling. However, be cautious not to apply too much force, as this can damage the pump housing or the shaft.
Inspecting the Shaft and Components
After removing the shaft, inspect it for any signs of wear, damage, or corrosion. Check the bearings, seals, and other components for any issues as well. If the shaft or any components are damaged, they should be replaced before reassembling the pump. You can find a variety of high - quality pump shafts, such as Gear Pump Shaft, Long Shaft Fire Pump, and Shaft Oil Pump on our website.


Reassembling the Pump
Once the shaft and components have been inspected and any necessary replacements have been made, you can start reassembling the pump. Follow the disassembly steps in reverse order. Make sure to clean all the components thoroughly before reassembling. Apply a small amount of lubricant to the bearings and seals to ensure smooth operation.
Testing the Pump
After reassembling the pump, it's important to test it to ensure that it is working properly. Turn on the power supply and check for any leaks, unusual noises, or vibrations. If the pump is not working correctly, check the connections and the alignment of the shaft.
Safety Considerations
Throughout the entire process, safety should be your top priority. Always wear appropriate safety gear, such as gloves and safety glasses, to protect yourself from any potential hazards. Make sure the workspace is well - ventilated, especially if you are working with fluids or chemicals.
Conclusion
Safely removing a pump shaft from a pump is a complex but manageable process. By following the steps outlined in this blog, you can ensure that the removal is done correctly and safely. If you have any questions or need assistance with pump shafts, feel free to reach out to us. We are a reliable pump shaft supplier and can provide you with high - quality products and professional advice. Whether you need a Gear Pump Shaft, a Long Shaft Fire Pump, or a Shaft Oil Pump, we have the right solution for you. Contact us today to discuss your requirements and start a procurement negotiation.
References
- Pump manufacturer's manuals
- Industry standards for pump maintenance and repair