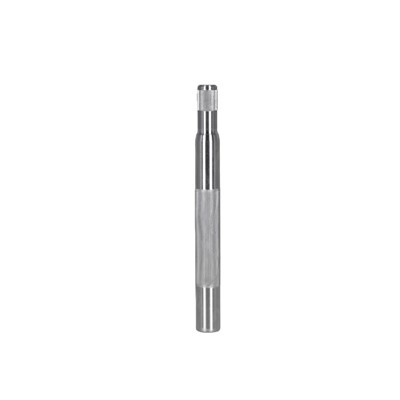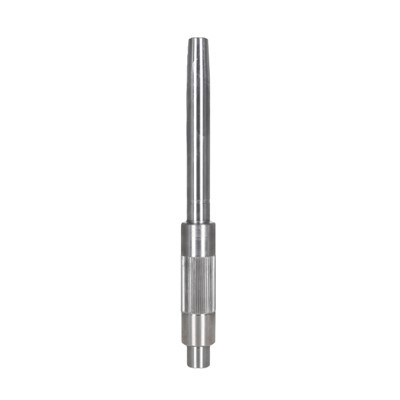


Replacing the seal in a fire pump shaft is a crucial maintenance task that ensures the proper functioning and longevity of the pump. As a Fire Pump Shaft supplier, I understand the importance of this process and have extensive knowledge of the steps involved. In this blog post, I will guide you through the process of replacing the seal in a fire pump shaft, providing you with valuable insights and tips along the way.
Understanding the Importance of the Seal
The seal in a fire pump shaft plays a vital role in preventing leakage of the pumped fluid, such as water or other fire - fighting agents. A damaged or worn - out seal can lead to significant problems, including reduced pump efficiency, increased energy consumption, and potential damage to the pump itself. Therefore, regular inspection and replacement of the seal are essential to maintain the pump's performance.
Tools and Materials Needed
Before you begin the seal replacement process, it is important to gather all the necessary tools and materials. Here is a list of items you will need:
- Replacement seal: Make sure to choose a seal that is compatible with your fire pump shaft. You can consult the pump's manual or contact us as a Fire Pump Shaft supplier for the right seal.
- Wrenches and sockets: These are used to remove and install the pump components.
- Cleaning supplies: Such as a degreaser and a clean cloth to clean the shaft and other parts.
- Lubricant: A suitable lubricant to ease the installation of the new seal.
Step - by - Step Guide to Replacing the Seal
Step 1: Shut Down the Pump
The first and most important step is to shut down the fire pump. This ensures your safety during the maintenance process. Turn off the power supply to the pump and make sure that the pump is completely stopped before proceeding.
Step 2: Drain the Pump
Next, you need to drain the fluid from the pump. Open the drain valve and allow the fluid to drain completely. This will prevent any spills or leaks during the seal replacement process.
Step 3: Remove the Pump Cover
Using the appropriate wrenches and sockets, remove the pump cover. This will give you access to the pump shaft and the seal. Be careful not to damage any of the components during this process.


Step 4: Remove the Old Seal
Locate the old seal on the pump shaft. You may need to use a seal puller or a flat - head screwdriver to gently pry the old seal out. Take your time to avoid damaging the shaft or other parts of the pump. Once the old seal is removed, clean the shaft and the seal housing thoroughly using a degreaser and a clean cloth.
Step 5: Inspect the Shaft
While the old seal is removed, take the opportunity to inspect the pump shaft for any signs of damage or wear. Look for scratches, nicks, or corrosion. If the shaft is damaged, it may need to be repaired or replaced. You can find a variety of high - quality pump shafts on our website, including Radial Pump Shaft, Shaft Pressure Washer Pump, and Bare Shaft Pump.
Step 6: Install the New Seal
Apply a thin layer of lubricant to the new seal. This will make it easier to install. Carefully place the new seal onto the shaft, aligning it with the seal housing. Use a seal installer or a flat - head screwdriver to gently press the seal into place. Make sure the seal is seated properly and there are no gaps.
Step 7: Reassemble the Pump
Once the new seal is installed, reassemble the pump. Replace the pump cover and tighten the bolts securely. Make sure all the components are properly aligned and tightened.
Step 8: Fill the Pump
After reassembling the pump, fill it with the appropriate fluid. Check for any leaks around the seal and other connections. If you notice any leaks, tighten the connections or replace the seal again if necessary.
Tips for a Successful Seal Replacement
- Follow the manufacturer's instructions: Always refer to the pump's manual for specific instructions on seal replacement.
- Use high - quality seals: Investing in high - quality seals will ensure better performance and longer service life.
- Keep the work area clean: A clean work area will prevent dirt and debris from getting into the pump and causing damage.
- Inspect regularly: Regularly inspect the seal and other pump components to catch any potential problems early.
Conclusion
Replacing the seal in a fire pump shaft is a task that requires careful attention to detail. By following the steps outlined in this blog post and using the right tools and materials, you can ensure a successful seal replacement. As a Fire Pump Shaft supplier, we are committed to providing you with high - quality products and expert advice. If you have any questions or need assistance with seal replacement or any other pump - related issues, please feel free to contact us. We are here to help you keep your fire pump in optimal condition.
References
- Pump Manufacturer's Manuals
- Industry Standards for Fire Pump Maintenance